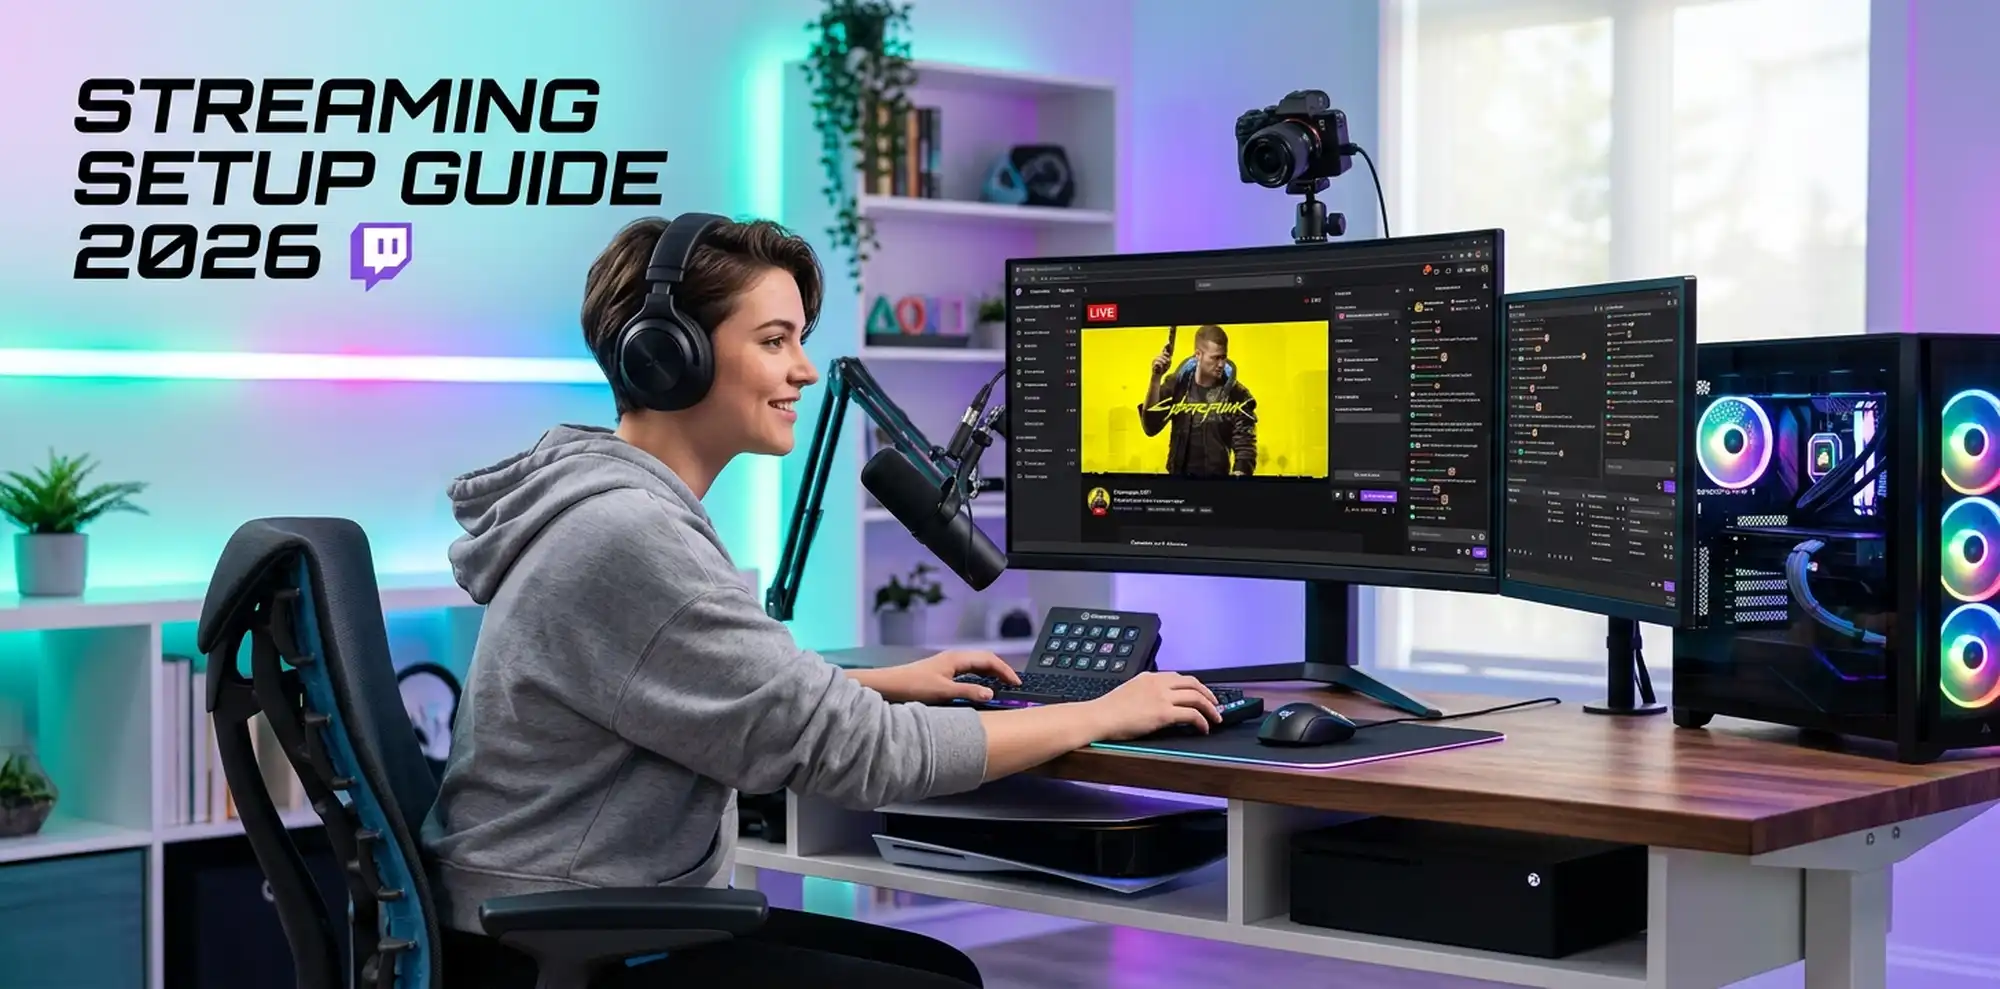
What You’ll Need to Get Started
Before you open any software, let’s talk about what you actually need. The good news: you probably have most of it already.
Internet Speed
This is non-negotiable. Twitch recommends:
- Download: 5 Mbps minimum (10+ Mbps recommended)
- Upload: 4-6 Mbps minimum for 1080p at 60fps (3-4 Mbps for 720p at 60fps)
Your upload speed is what matters most for streaming. You can check your speed at speedtest.net. If your upload is below 3 Mbps, you might need to upgrade your internet or stream at lower quality. If you’re on a shared network (dorm, apartment with roommates), your actual available speed might be lower than advertised.
What Is Twitch? The Beginner’s Guide to the World’s Biggest Streaming Platform (2026)
Computer Requirements (for PC streaming)
If you’re streaming from a PC (not console):
- CPU: Intel i7 or AMD Ryzen 7 (or better) for smooth encoding
- RAM: 8 GB minimum, 16 GB recommended
- GPU: Optional but helpful. An NVIDIA GPU with NVENC encoding can dramatically reduce CPU load
- Storage: You don’t need much space for streaming, but you should have room for your streaming software
- Operating System: Windows 10+ or macOS 10.13+
If your PC is older or less powerful, you can still stream, but you might need to reduce resolution or frame rate. Many successful streamers started with basic laptops.
Camera Options
You have choices here:
- Webcam ($30-150): Built-in or USB webcam. Fine for starting out, though lower quality
- DSLR or Mirrorless Camera ($500+): Professional quality. Requires capture card
- Phone Camera: Can work via apps, though quality varies
- No camera: Many streamers (especially gamers) stream games without a face cam
Microphone
Audio quality matters more than people think. Options:
- Built-in laptop mic: Free but sounds tinny. Better than nothing for starting
- USB Microphone ($50-150): Plug-and-play, good quality. Popular choice: Audio-Technica AT2020USB+
- Condenser Microphone with interface ($150+): More professional setup
- Gaming Headset: Acceptable for game audio, but dedicated mic is better
Gaming Console (if streaming from console)
If you’re streaming console gameplay:
- PlayStation 5: Built-in streaming, relatively easy setup
- Xbox Series X|S: Built-in streaming, integrates with Twitch
- Nintendo Switch: Requires capture card for streaming to Twitch directly
Console streaming is often simpler than PC streaming, but offers less customization.
Capture Card (if streaming console or camera)
A capture card connects your console or camera to your PC, letting you capture and stream the video. Popular options:
- Elgato HD60 S+ ($150): Reliable, beginner-friendly
- AVerMedia Live Gamer Portable 2 Plus ($180): Good quality, portable
- Affordable alternatives: Used or budget capture cards ($50-100) work for starting
Streaming Software
This is what actually broadcasts your game or content to Twitch. We’ll cover setup later, but you have free options:
- OBS Studio (open source, free, most popular)
- Streamlabs OBS (free, user-friendly version of OBS)
- XSplit Gamecaster (freemium, more polished)
- Elgato Stream Deck software (if you’re using Elgato gear)
How Much Do 100 Gifted Subs Cost on Twitch? (And Are They Worth It?)
Gear Recommendations: Budget vs. Ideal
Here’s a quick breakdown of what you’d spend at different levels:
| Component | Basic Budget | Recommended |
|---|---|---|
| PC/Laptop | What you have | $800-1500 |
| Microphone | Built-in | USB mic $80-150 |
| Camera | No cam / webcam | $100-200 webcam |
| Capture Card | N/A (PC) / $50 | $100-180 (if needed) |
| Lighting | Natural light | $30-100 |
| Software | Free (OBS) | Free (OBS) |
| Total Start-Up | $0-50 | $1000-2100 |
Reality check: You do not need the “Recommended” setup to start. Many successful streamers started with basic webcams, built-in mics, and free software. Quality of content and personality matters way more than gear. Upgrade gradually as you grow.
Step-by-Step Setup for PC Streaming (Windows/Mac)
Step 1: Create Your Twitch Account and Channel
- Go to twitch.tv and sign up for a free account
- Customize your channel:
- Choose a profile picture (your face, logo, or avatar)
- Write a channel description (what you’ll stream about)
- Add panels below your stream for info about you, socials, donation links
- Set your preferred streaming language
Your channel URL will be twitch.tv/[yourname]. You can’t change it after creation, so choose carefully.
Step 2: Download and Install OBS Studio
OBS (Open Broadcaster Software) is free and works on Windows, Mac, and Linux. Here’s how:
- Go to obsproject.com
- Download the version for your operating system
- Run the installer and follow the setup wizard
- Launch OBS
- You’ll see a blank canvas with “Scenes” and “Sources” on the left side
Don’t panic if the interface looks complex. We’ll set it up step by step.
Step 3: Set Up Your Stream Sources in OBS
Sources are the elements that go into your stream: your game, webcam, alerts, overlays, etc.
If you’re streaming a game:
- In OBS, click the + button under “Sources”
- Select Game Capture or Display Capture
- Game Capture: Captures just the game window (recommended)
- Display Capture: Captures your entire monitor (works if Game Capture doesn’t)
- Choose which display/game to capture
- You should see your game preview on screen
- Resize and position it in your canvas by clicking and dragging the corners
If you’re adding a webcam:
- Click the + under “Sources”
- Select Video Capture Device
- Choose your webcam from the list
- A webcam feed appears on screen
- Resize and position it in a corner or wherever you want
If you’re using a microphone:
- Click the + under “Sources”
- Select Audio Input Capture
- Choose your microphone
- You should see audio levels moving when you speak (green bars on the right side)
Step 4: Connect OBS to Your Twitch Account
This is how OBS knows to send your stream to Twitch.
- In OBS, click Settings (bottom right)
- Go to Stream in the left menu
- Service: Select Twitch
- Server: Keep as default (Auto)
- Click Connect Account
- A browser window opens and asks permission to connect
- Click Authorize and you’re connected
- Go back to OBS—your Twitch account is now linked
Your Stream Key should auto-fill. Never share this key publicly; it’s how you broadcast to Twitch.
Step 5: Configure Your Stream Settings
Still in Settings > Stream:
- Bitrate: Start with 6000 Kbps (kilobits per second) for 1080p60. If your upload speed is lower, use 4500 Kbps for 720p60
- Leave other settings as default for now
Go to Output tab:
- Encoder: If you have an NVIDIA GPU, select NVIDIA NVENC. Otherwise, leave as x264
- Bitrate: Should match what you set above
- Audio Track: Set to track 1
Step 6: Set Up Your Stream Title, Category, and Thumbnail
Before you go live, you’ll set these on Twitch:
- Go to twitch.tv and log in
- Click your profile icon (top right) → Creator Dashboard
- Click Go Live
- Stream Title: What you’re streaming, e.g., “Dark Souls 3 Speedrun Attempt – !lurkers welcome”
- Category: Select the game/category (search “Dark Souls” or “Just Chatting”)
- Add Tags: Tag your stream (e.g., “speedrun”, “casual”, “first-time”)
- Set a Thumbnail (preview image) if desired
- Click Update to save
Your title and category help people find your stream.
Step 7: Test Your Stream Quality (Optional but Recommended)
Before you go live to your audience:
- Click Start Streaming in OBS
- Let it run for 2-3 minutes
- Go to your Twitch channel and watch from there
- Check:
- Video quality (clear, not blurry?)
- Audio level (can you hear yourself well?)
- No lag or stuttering
- Check your PC’s Task Manager (Windows) or Activity Monitor (Mac)—is CPU usage high? If over 80%, you might need to lower bitrate or resolution
- Click Stop Streaming in OBS
- Go back to Twitch, check the Stream Health Indicator (top right of creator dashboard) for any warnings
Step 8: Go Live
Once you’re happy with your setup:
- In OBS, click Start Streaming
- Go to your Twitch channel (twitch.tv/yourname)
- Your stream should appear live
- In OBS, you’ll see stats showing bitrate, FPS (frames per second), and dropped frames
- Monitor the stats. Ideal is 0 dropped frames
When you’re done streaming, click Stop Streaming in OBS. Your VOD (video on demand) will be saved to your channel automatically.
Twitch Adblock: What Viewers Need to Know in 2026
Step-by-Step Setup for Console Streaming
Console streaming is simpler than PC streaming, but less customizable.
PlayStation 5
- Connect PS5 to Twitch:
- Press the PS button → Control Center
- Go to Settings → System → Broadcast & Captures
- Select Streaming Services → Add → Twitch
- Follow the authorization steps
- Go Live:
- While in a game, press the PS button
- Select Control Center → Broadcasting
- Choose your stream title and category
- Click Start Broadcast
- Your stream goes live on Twitch automatically with your PS5 audio and gameplay
Limitations: No webcam overlay, no custom overlays, limited customization. For a cleaner setup, use a capture card with your PS5.
Xbox Series X|S
- Connect Xbox to Twitch:
- Press the Xbox button → System → Settings
- Go to Account → Privacy & Online Safety
- Set permissions to allow streaming
- In any game, press Xbox button → Capture & Share → Twitch
- Authorize and connect your account
- Go Live:
- In a game, press Xbox button → Capture & Share
- Select Broadcast to Twitch
- Set your title and category
- Start broadcast
Limitations: Same as PS5. Xbox makes streaming easy but not highly customizable.
Nintendo Switch
The Switch has no built-in Twitch streaming. You’ll need:
- A capture card (Elgato, AVerMedia, etc.)
- Connect Switch → Capture Card → PC
- Stream via OBS from your PC (same as PC streaming above)
Setting Up Your Stream Channel Page
Your channel is where people discover and follow you. Make it inviting:
Profile Section
- Profile Picture: Your face, logo, or gaming avatar
- Banner: A large background image (1200×480 pixels)
- Description: Write 2-3 sentences about what you stream and why people should follow
Panels (below the video player)
- Go to your channel page
- Click Edit Panels
- Add panels for:
- About Me: Who you are
- Schedule: When you typically stream
- Social Links: Twitter, Instagram, Discord
- Donation/Tips: If you want to accept tips
- Rules: Community guidelines
Channel Alerts and Overlays
When you’re streaming from a console, you get basic notifications. From OBS:
- Add Image or Text sources for alerts, follower notifications, sub notifications
- Many streamers use Streamlabs for pre-built alert templates
- Download free overlays and alerts, import them into OBS
This makes your stream feel more professional.
Going Live: Your First Stream
Here’s what actually happens when you start:
- Start your software (OBS or console app)
- Title and category are set in the Twitch dashboard
- Click “Start Streaming” or “Go Live”
- Your stream goes live in seconds
- You’ll see viewer count starting at 1 (just you)
- Chat appears below the video
Your First Stream: Tips
- Don’t stress about the view count. Most streams start with zero viewers
- Talk to your camera as if people are there, even if they’re not
- Acknowledge lurkers. People watch silently, and chat messages to them encourage engagement
- Don’t read chat constantly. Read it occasionally, but focus on your content
- Keep it fun. Streaming is supposed to be enjoyable. If you’re stressing, it shows
- Be yourself. Personality is what gets people to follow
Troubleshooting Common Issues
| Problem | Solution |
|---|---|
| No audio in stream | Check OBS audio settings. Ensure microphone is selected and unmuted. Test in Windows/Mac Sound settings |
| Stream keeps dropping / buffering | Lower bitrate in OBS (try 4500 instead of 6000). Check internet stability. Close background apps |
| Game lag or stuttering | Reduce game resolution or frame rate. Lower OBS bitrate. Check GPU usage in Task Manager |
| Webcam looks blurry | Check camera focus. Improve lighting. Upgrade to better webcam |
| Twitch says “Connection failed” | Check your internet. Restart OBS. Re-authorize your Twitch connection in OBS Settings |
| Chat isn’t loading | Refresh your browser or Twitch app. Check internet connection |
| Sound is too quiet/loud | Use the volume slider in OBS (right side). Adjust system microphone levels |
| Stream looks pixelated | Increase bitrate (if your upload speed allows). Improve lighting. Use better camera/capture card |
Creating a Stream Schedule
Consistency matters on Twitch. People are more likely to follow if they know when you’re live.
How to Set Your Schedule
- Go to Creator Dashboard → Scheduled
- Click + Schedule a Stream
- Set your Date, Time, and Duration
- Add a Title (optional)
- Save
Your followers will get notified when you go live, and it appears on your channel calendar.
Streaming Frequency Recommendations
- Starting out: 3-5 times per week is sustainable for most people
- Building audience: 5-7 days a week (doesn’t have to be long streams)
- Part-time focus: 3-4 hours per stream, 4-5 days/week
- Full-time: 8+ hours per day, 6-7 days/week
You don’t need to stream 12 hours a day to grow. Consistency beats duration. Streaming the same time every day (e.g., 8 PM EST every night) builds a habit in your audience.
Tips for Your First Stream
Content Tips
- Play what you enjoy, not what’s trending. Genuine passion shows
- Have a plan but don’t script everything. Natural is better than rehearsed
- Interact with chat. Ask questions: “What should I do next?” or “What’s your favorite [game] moment?”
- Be okay with awkward silence. You don’t need to talk 24/7
Technical Tips
- Test your setup before going live. Run through your full stream at least once
- Have a backup plan. If OBS crashes, know how to restart
- Monitor CPU usage. If it’s constantly above 80%, your stream quality will suffer
- Use a wired internet connection if possible. WiFi is less stable
Growth Tips
- Be consistent. Same time every day matters more than perfect presentation
- Engage with your community. Read and respond to chat. Thank followers publicly
- Tell people about your stream. Share it on social media, Discord, etc.
- Clip good moments. Encourage viewers to clip funny or impressive moments
- Collaborate. Raid other streamers, host streams, do multiplayer with other creators
- Don’t obsess over metrics. Follower counts grow slowly. Focus on content quality and fun
Beyond Your First Stream
After you’re comfortable streaming, consider these upgrades:
Software/Overlay Upgrades
- Streamlabs OBS: More user-friendly than OBS, built-in alerts and overlays
- Stream Deck: Physical buttons to trigger scene changes, alerts, sound effects
- Better overlays: Commission an overlay designer ($50-200) for a polished look
Hardware Upgrades
- Better microphone: USB mics like Blue Yeti or Audio-Technica AT2020USB+ ($80-150)
- Ring light: Better lighting = better video quality ($30-80)
- Monitor: A second monitor lets you see chat and stats while watching your game
- Better camera: Upgrade from webcam to DSLR or mirrorless camera
Monetization
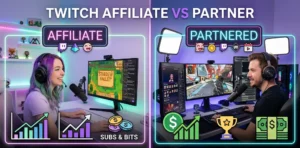
Once you hit Twitch Affiliate status (50 followers, 500 channel followers, 50 average viewers, 500 broadcast hours), you can:
- Enable subscriptions (viewers can sub for $4.99-$24.99/month)
- Earn money from ads
- Accept Bits (virtual tips)
- Seek sponsorships and donations
Twitch Affiliate vs Partner: How to Grow and Get Paid as a Streamer
What You Need to Know About Twitch’s Rules
Twitch has community guidelines. Key ones:
- No explicit sexual content or nudity
- No hate speech or discrimination
- No graphic violence (gameplay is fine, real violence is not)
- No copyright music unless you own the rights or have a license (use royalty-free music sites)
- No scams or misleading content
Your channel can be banned if you violate these. Stick to the guidelines and you’ll be fine.
FAQ: First-Time Streaming Questions
Start with 2-3 hours. Longer isn’t always better. Quality time beats quantity.
Absolutely. Group streams are fun and often grow faster.
No. Twitch has art, music, fitness, education, and many other categories.
Yes, using Twitch’s mobile app. Quality is lower than PC/console, but it works.
Everyone does. A “bad” stream with personality beats a perfect, boring one. People follow people, not perfection.
Not required. Many successful streamers (especially gamers) don’t use a webcam. It helps with connection, but it’s not necessary.
Yes. After streaming, your VOD (video on demand) is saved. You can trim it, delete it, or keep the full thing.
Consistency, personality, engaging with your community, and promoting on social media. Growth takes time.
Streaming on Twitch is more accessible than ever. You don’t need expensive equipment or prior experience. You just need a computer (or console), internet, and the willingness to show up consistently. The biggest streamers all started at zero viewers. Start today, be yourself, and build from there.
Your first stream will be awkward. Your 10th stream will still be a little awkward. By your 50th stream, you’ll have found your rhythm. Stick with it.
Leo Falsafi is a digital marketing veteran and senior journalist at Virlan.co, where he covers the intersection of digital marketing, gaming, and breaking US trending news. With nearly two decades of hands-on experience in SEO and digital strategy, Leo has consulted for and scaled hundreds of companies. His deep industry roots allow him to deliver sharp, fact-checked insights and analysis on the trends shaping today’s digital landscape.

[…] For more detailed setup guidance, check out : How to Stream on Twitch: Complete Setup Guide for PC & Console (2026). […]
[…] Related reading: [What Is Twitch], [How to Stream on Twitch] […]
[…] How to Stream on Twitch: Complete Setup Guide for PC & Console (2026) […]
[…] How to Stream on Twitch: Complete Setup Guide for PC & Console (2026) […]